Build the stack one relationship at a time
Bring width, profile, spacing, and meaning into one wearable ring stack.
Build the stack around one anchor ring, then add spacing, total width, and future meaning one layer at a time. The best order is the one that works on the hand and still feels like your story.
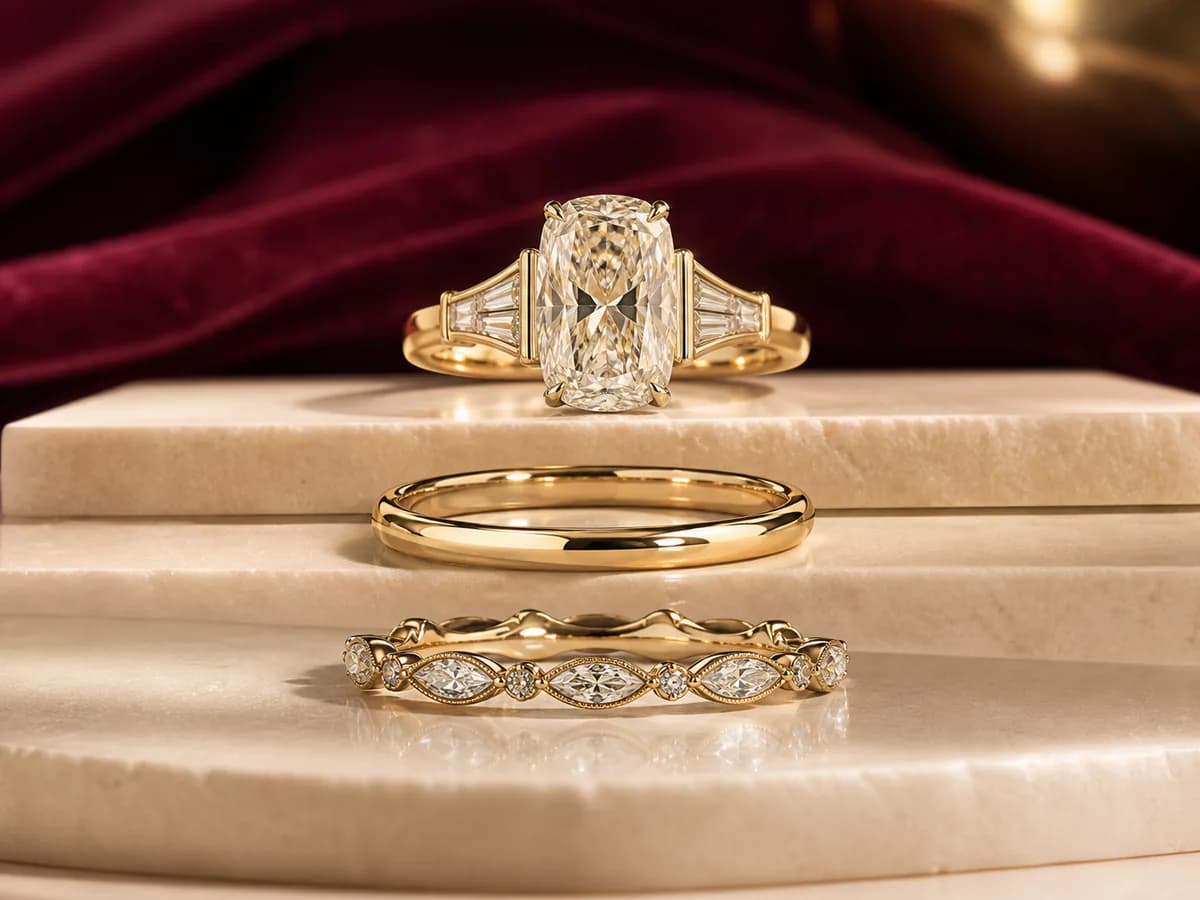
Build one relationship at a time
Choose the ring that leads, then add only what belongs beside it.
A useful stack begins with an anchor. Add a spacer, plain band, stone band, or future milestone only when it has a clear role. Every selected layer stays private and editable in Atelier.A stack should work as one composition
How do I build a wedding-ring stack?
Choose one anchor ring. Then add each band for a reason: visual rest, stone rhythm, spacing, personal meaning, or room for a future milestone.
Review the rings together and separately. Combined width, order, movement, and contact can change how the stack looks and feels on the intended finger.
Choose the anchor
Let one ring establish the main outline, story, or setting relationship.
Give every layer a role
A spacer, plain band, or stone band should add something clear rather than only making the stack busier.
Review the whole fit
Total width, order, contact, and future additions belong in the same fit conversation.
Build with purpose
What each additional layer can change
Keep the anchor steady while you compare one addition at a time.
| Layer | What it can add | What stays open | Review beside |
|---|---|---|---|
| Plain band | Quiet structure | Width and profile | The anchor ring alone |
| Spacer direction | Visual separation | Exact contact and thickness | Both neighboring rings |
| Stone-set band | Light and rhythm | Coverage, setting, and stones | Daily wear and care |
| Future milestone | Room to grow | Timing and final design | Total finger coverage |
This comparison does not prescribe order or size. The intended hand and exact ring construction still lead the review.
Two ways this choice can begin
Keep the useful clue. Leave the exact answer open.
Illustrative planning example—not customer proof
A three-ring stack needs visual rest
Two stone-set rings feel crowded beside the engagement ring.
- Keep
- The meaningful rings and desired sparkle.
- Leave open
- Whether a plain or slim spacer creates the calmer rhythm.
Illustrative planning example—not customer proof
The stack should grow later
The current pair feels complete, but another milestone band may be added in the future.
- Keep
- The current order and future-growth intention.
- Leave open
- The later band’s design, width, and position.
Questions worth asking
Clear answers without rushing the fit
How many rings should be in a wedding stack?
There is no required number. Begin with the rings that have a clear role and leave room for comfort and future change.
Do all bands need the same metal?
No. Matching and mixed directions can both feel intentional. Exact materials and contact still need review.
Can a spacer stop rings from touching?
A spacer changes the relationship, but its exact width, profile, movement, and contact must be reviewed with both neighboring rings.
Does a wider stack need a different ring size?
It may feel different, but no universal adjustment applies. Measure and review the complete intended stack for the correct finger.
A calm five-point check
Before you carry this direction into Atelier
Name the ring that should lead the composition.
Give each added band one clear visual or personal role.
Compare every ring alone as well as in the stack.
Review combined width, movement, and contact on the intended finger.
Keep future additions open until their own design and fit are known.
Sources and boundaries
What supports this guidance
Independent sources support technical and consumer-information boundaries. Leyloon links explain Leyloon’s own design and quote path.
- GIA: Guide to stacking ringsPractical context for building a ring stack while keeping fit and wear in view.Accessed 2026-08-27 · Open independent source ↗
- GIA: Accurate determination of finger and ring sizeSizing guidance for evaluating the intended finger and the complete ring geometry.Accessed 2026-08-27 · Open independent source ↗
- How Leyloon quote requests workA written quote follows review of the selected direction; requesting one does not approve or buy the piece.Open Leyloon guide →
Published customer proof
Real experiences, kept separate from promises
Only approved purchase-linked reviews appear here. An illustrative scene is never presented as a customer, and one person’s experience is never treated as a promise for another piece.See what Leyloon customers have shared
Read recent shop reviews on Etsy, then come back when you are ready to shape your own setting direction.
These reviews reflect individual Leyloon service experiences. Your setting direction and quote request are reviewed on their own.