Small details protect the fit decision
Avoid the sizing shortcuts that make a clear number less useful.
A measurement needs its finger, hand, unit, method, and band context. Keeping those details together is more reliable than relying on a remembered size alone.
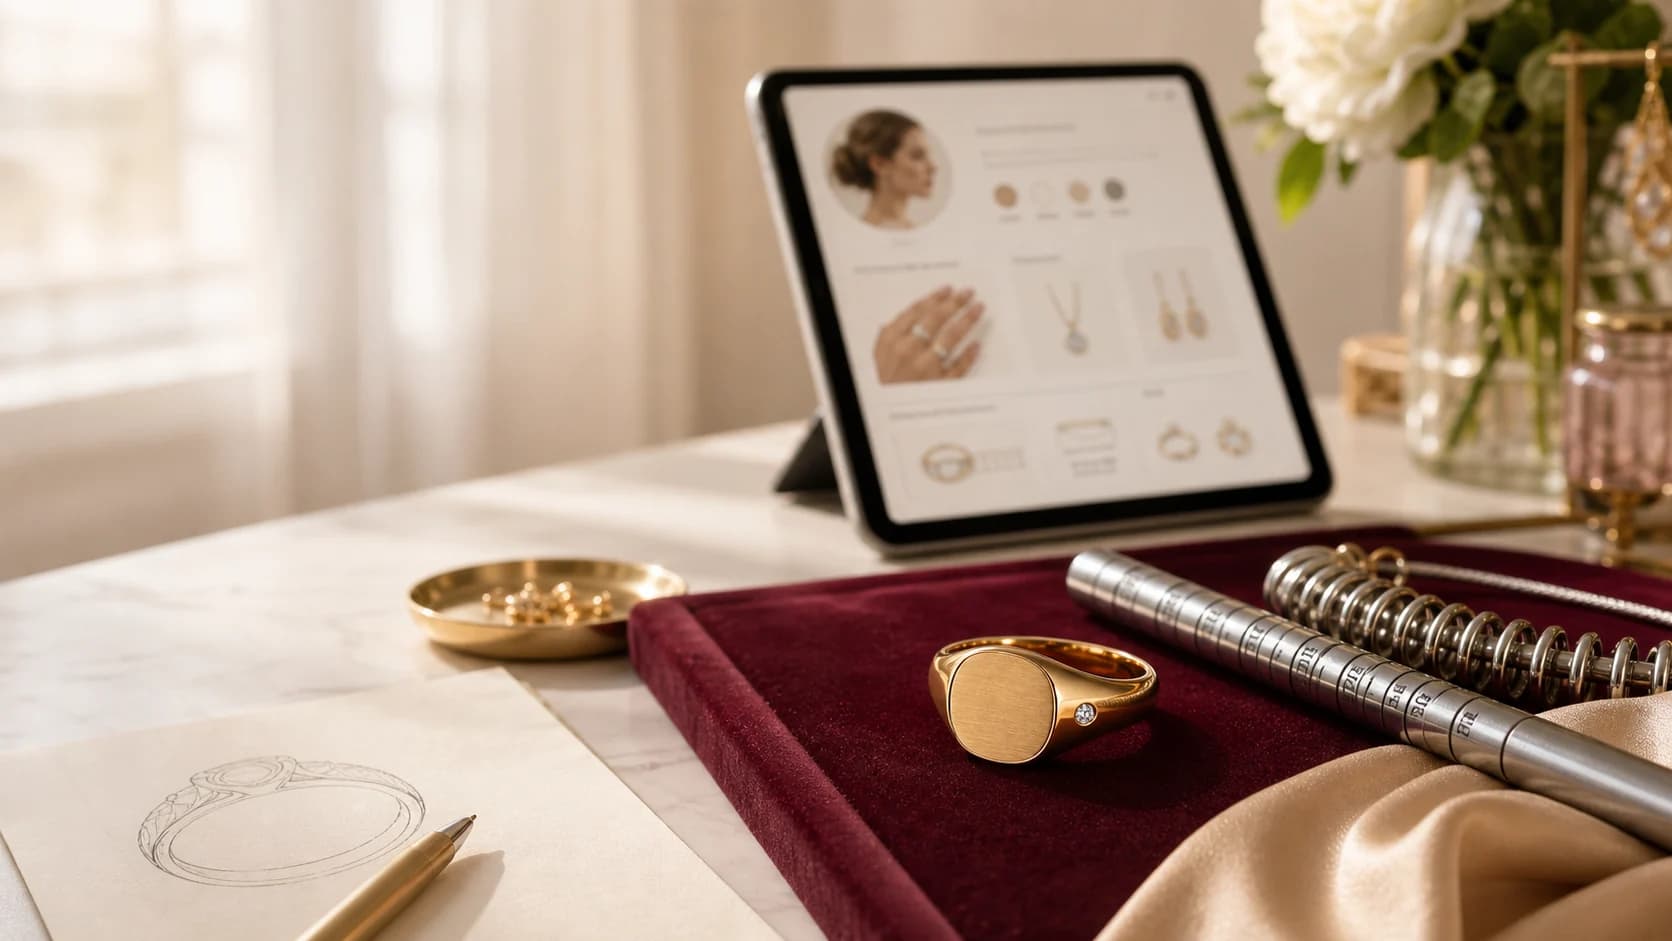
Fit, wear & care—considered together
A clearer decision, with the important context kept beside it
Most sizing errors come from losing one piece of context: the finger, hand, method, unit, ring edge, width, or ordinary fit range.
Use this page when
- You are about to trust a home result.
- Two methods disagree and you want to find the cause.
Pause and choose another path when
- You need urgent help removing a ring.
- You want a checklist to override an obvious failed calibration or damaged source ring.
Where this choice often matters
- Double-checking an online ring order.
- Cleaning up fit notes before a custom design review.
Compare the details
Find the error before choosing a size
Use the tool or guide named for the error, correct the original measurement, and keep the change visible with the result.
| Mistake | What it changes | Visible check | Repair |
|---|---|---|---|
| Wrong finger or hand | Personal size context | Label both | Measure intended finger |
| Outside ring edge | Overstates diameter | Show inner edge | Measure empty interior |
| Unknown unit/type | Confuses diameter and circumference | Keep label | Return to conversion guide |
| Ignored width or knuckle | Changes worn fit | Record both | Use comparable gauge |
Ring-size reference chart
Compare named sizes with inside measurements
Keep your original system and maker’s chart. This table is a comparison aid, not a universal fit promise.
| US & Canada | UK, Europe & Australia | Asia | Inside diameter | Inside circumference |
|---|---|---|---|---|
| 3 | F | 4 | 14.1 mm | 44.3 mm |
| 3.5 | G | — | 14.5 mm | 45.6 mm |
| 4 | H | 7 | 14.9 mm | 46.8 mm |
| 4.5 | I | 8 | 15.3 mm | 48.1 mm |
| 5 | J | 9 | 15.7 mm | 49.3 mm |
| 5.5 | K | 10 | 16.1 mm | 50.6 mm |
| 6 | L | 11 | 16.5 mm | 51.8 mm |
| 6.5 | M | 13 | 16.9 mm | 53.1 mm |
| 7 | N | 14 | 17.3 mm | 54.3 mm |
| 7.5 | O | 15 | 17.7 mm | 55.6 mm |
| 8 | P | 16 | 18.1 mm | 56.9 mm |
| 8.5 | Q | 17 | 18.5 mm | 58.1 mm |
| 9 | R | 18 | 19.0 mm | 59.7 mm |
| 9.5 | S | 19 | 19.4 mm | 60.9 mm |
| 10 | T | 20 | 19.8 mm | 62.2 mm |
| 10.5 | U | 22 | 20.2 mm | 63.5 mm |
| 11 | V | 23 | 20.6 mm | 64.7 mm |
| 11.5 | W | 24 | 21.0 mm | 66.0 mm |
| 12 | X | 25 | 21.4 mm | 67.2 mm |
| 12.5 | Y | 26 | 21.8 mm | 68.5 mm |
| 13 | Z.5 | 27 | 22.2 mm | 69.7 mm |
| 13.5 | Z1 | — | 22.6 mm | 71.0 mm |
Reviewed 2026-08-25. Source reference: GIA ring-size guide. This table follows GIA’s US and Canada, UK/Europe/Australia, and Asia columns; blank cells are not listed by GIA. Leyloon uses the nearest physical row without interpolation and keeps your original measurement beside it.
Questions worth asking
Open the concern that sounds like yours
Choose the question that sounds like yours. Each answer keeps the next step clear without closing decisions that still need review.
My two readings differ. Did I fail?
No. The difference is useful evidence; check the method, unit, tension, and ordinary timing.
Can I just average them?
Only after you understand why they differ. An average can hide a wrong measurement type.
What is the quickest reliable check?
Confirm the intended finger, use a known method, repeat it, and keep band width with the result.
Ready when you are
Carry this direction into your design
Leyloon can keep these choices together while you continue. Every detail stays editable. Your choices stay editable as you continue.
- Corrected measurement and original errorNeeded before the direction is complete
- Width or stackA useful next question
- Hand, finger, method, unit, repeat readings, and confidenceKeep it open if you are still deciding
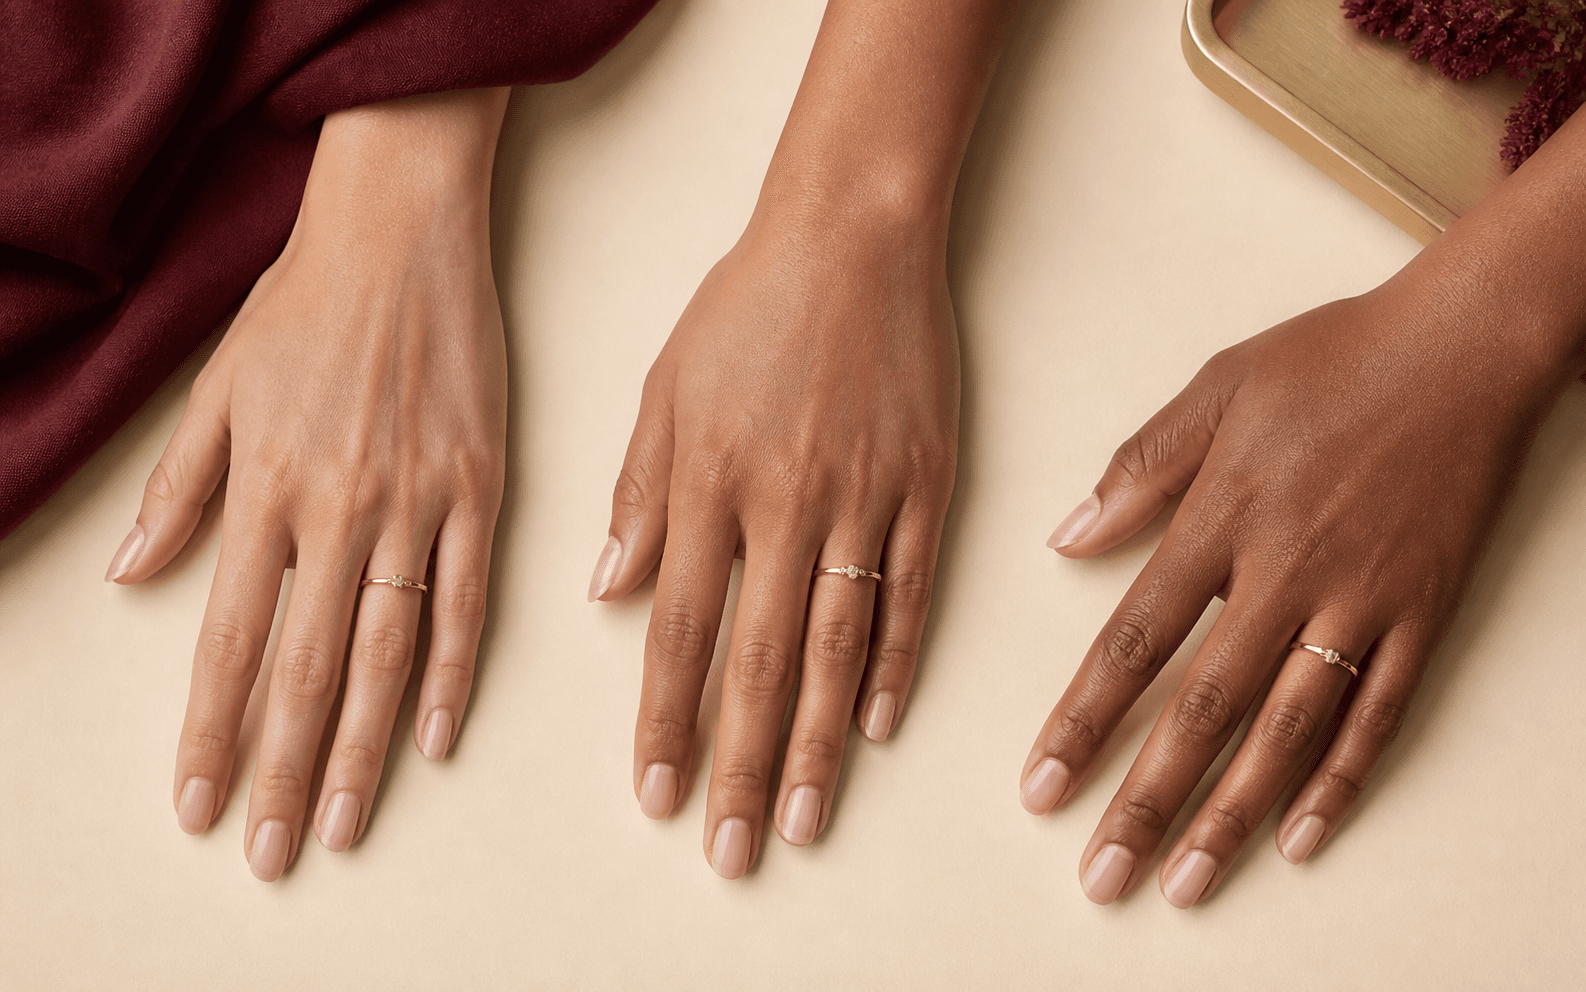
A visual map of this brief
See what stays known—and what remains open
This guide begins with “Protect the measurement by keeping its method, unit, and design context.” The next choices stay grouped, editable, and connected to that same Atelier brief.
- Ring you are sizingChoose the ring context so the measurement stays attached to the right width, profile, and finger.
- What measurement do you have?Keep the method with the number. The working tool above can help compare it without replacing the maker's final fit check.
- Band width or stackChoose the planned contact width. Exact millimeters stay editable.
- What could change the fit?Choose the closest context. You can add the exact measurements privately in Atelier.
Start with what matters on this page
Keep the measurement with the ring it belongs to
Choose how you measured and the ring context. Keep the intended finger, method, width, and fit notes together; review your profile visibility before sharing saved details.Published customer proof
Real experiences, kept separate from promises
Only approved purchase-linked reviews appear here. An illustrative scene is never presented as a customer, and one person’s experience is never treated as a promise for another piece.See what Leyloon customers have shared
Read recent shop reviews on Etsy, then come back when you are ready to shape your own fit and jewelry direction.
These reviews reflect individual Leyloon service experiences. Your fit and jewelry direction and quote request are reviewed on their own.