Width with intention
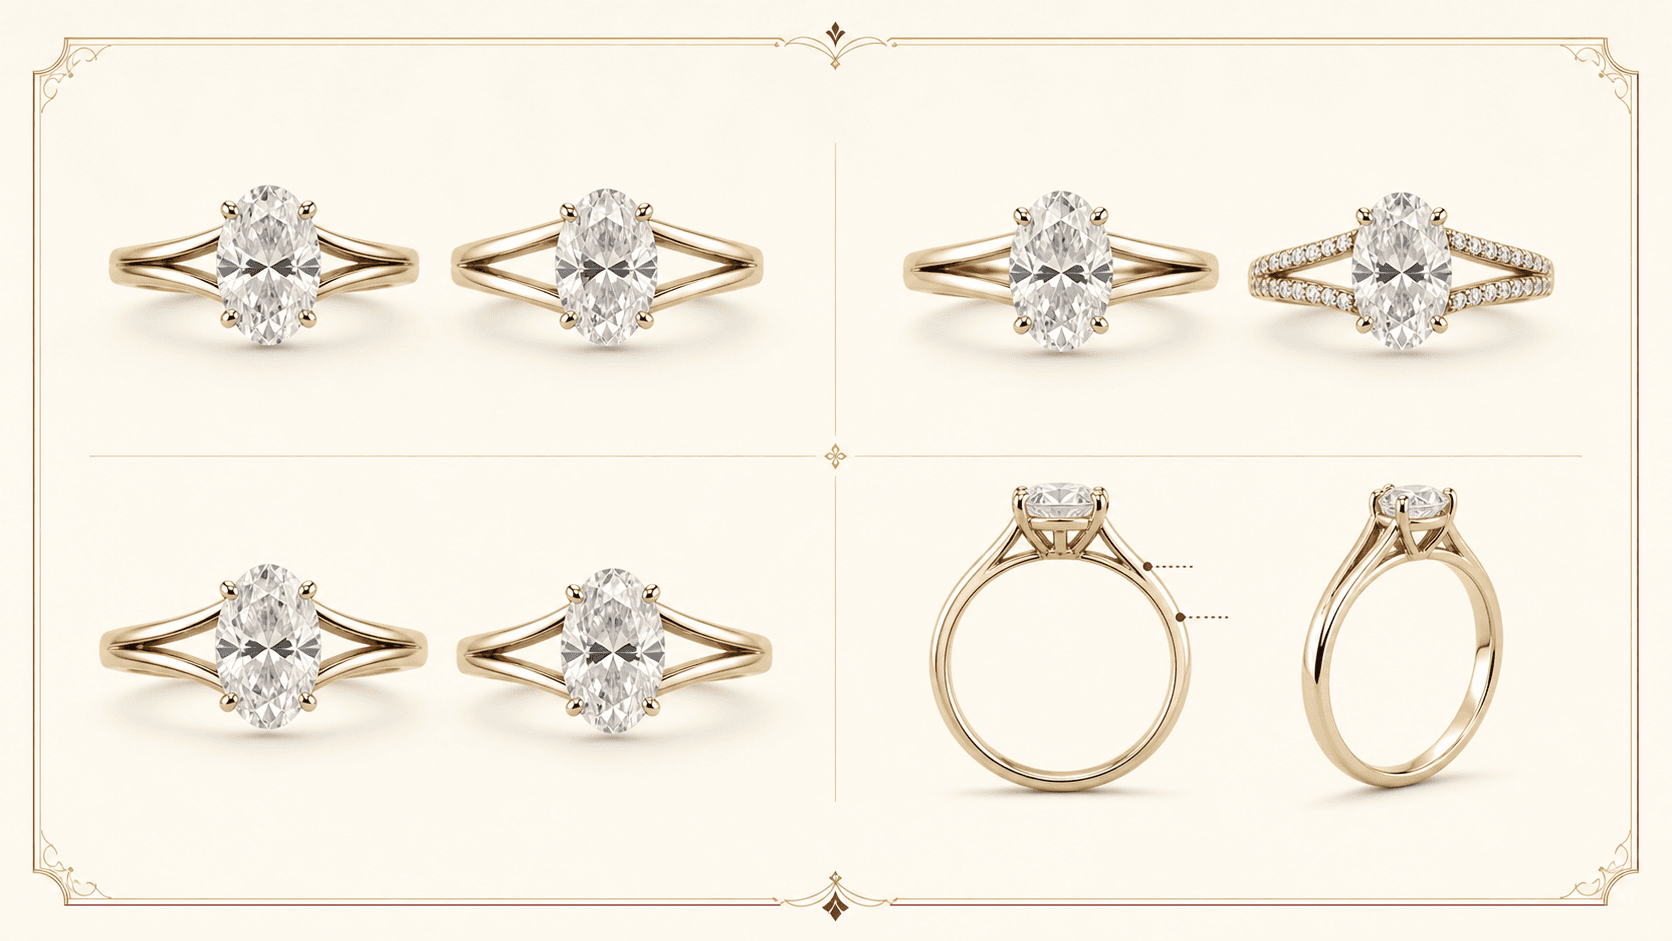
A split shank changes finger coverage, side view, and how the center feels supported.
Compare the space between the rails, the transition near the center, the total width, and the way another band may sit beside it.
A thoughtful answer before the next step
Is a split-shank setting a good choice for my engagement ring?
What matters here
Compare presence, side-view structure, wedding-band relationship, cleaning access, and finger coverage before turning split shank into an editable band-style selection.
Real ways this can begin
Find the path that feels closest to yours
A wider-looking center presentation may suit someone who likes visible architecture without choosing a full halo.
Keep what you already know, then compare the open choices without starting over.
When the direction feels ready, start a design with these preferences and continue with the next open choice.
Compare the decision in context
Split-shank directions
Compare the whole silhouette, not only the top view. Review the top and side views together, with center measurements, rail widths, ring size, profile, and the desired wedding-band relationship.
| Direction | Visual effect | Practical question | What to keep with it |
|---|---|---|---|
| Open split | Airy and expansive | Total width at finger | Keep the reason for choosing open split with the exact measurement, stone, or design being reviewed. |
| Tight split | Strong and cohesive | Cleaning between rails | Keep the reason for choosing tight split with the exact measurement, stone, or design being reviewed. |
| Pavé rails | More surface sparkle | Stone exposure and care | Keep the reason for choosing pavé rails with the exact measurement, stone, or design being reviewed. |
| Plain rails | Clear metal lines | Proportion beside center | Keep the reason for choosing plain rails with the exact measurement, stone, or design being reviewed. |
See how the choice changes
Three ways deciding whether a divided band suits the stone and hand can begin
These examples show how deciding whether a divided band suits the stone and hand may begin. They are planning scenarios, not customer stories or finished-piece promises.
Elongated center
An oval or emerald outline needs side balance.
- Direction
- Taper two rails toward the center.
- Why it helps
- The shoulders can echo its length.
Future flush band
A straight wedding band matters.
- Direction
- Review gallery clearance before choosing height.
- Why it helps
- Side geometry decides the gap.
Low-set preference
Minimal snagging matters more than flush pairing.
- Direction
- Use a lower center with a contour companion direction.
- Why it helps
- Daily wear leads the tradeoff.
Questions people ask in plain language
Answers for deciding whether a divided band suits the stone and hand
Open the answer that helps with deciding whether a divided band suits the stone and hand. Each response stays tied to “Is a split-shank setting a good choice for my engagement ring?”
What is a split-shank ring?
Its band separates into two visible rails near the center.
Does it look wider?
Often, because two rails cover more finger area.
Can it sit low?
Yes, depending on center, gallery, and pairing goals.
Will a straight band sit flush?
Only when the side geometry leaves enough clearance.
Can both rails have stones?
Yes, with width, setting security, and care reviewed.
Carry the useful details forward
Keep the brief clear when you continue
Compare presence, side-view structure, wedding-band relationship, cleaning access, and finger coverage before turning split shank into an editable band-style selection.
Open split: Show more space between the rails.
Tight split: Read as one stronger shoulder.
Taper: Narrow or widen toward the center.
Center transition: Choose soft flow or defined architecture.
Profile: Balance height with support and comfort.
Band pairing: Choose flush, contour, or intentional gap.

A visual map of this brief
See what stays known—and what remains open
This guide begins with “A split shank changes width, openness, support, and band pairing.” The next choices stay grouped, editable, and connected to that same Atelier brief.
- Where the split beginsChoose where one band line starts becoming two. The exact transition stays open for a proportion review with the center setting.
- Rail spacing and widthChoose the relationship between the two rails. Exact millimeters depend on the ring size, center setting, stones, and strength review.
- Symmetry and movementChoose whether both sides should mirror one another or carry an intentional difference.
- Surface treatmentChoose how the rails should catch light. Stone coverage, edge detail, and exact finishing remain separate review choices.
Start with what matters on this page
Choose a clear starting direction
Choose what you know now. Every choice remains editable in Atelier, and you can leave anything else open.Already carried from this page
Published customer proof
Real experiences, kept separate from promises
Only approved purchase-linked reviews appear here. An illustrative scene is never presented as a customer, and one person’s experience is never treated as a promise for another piece.See what Leyloon customers have shared
Read recent shop reviews on Etsy, then come back when you are ready to shape your own setting direction.
These reviews reflect individual Leyloon service experiences. Your setting direction and quote request are reviewed on their own.