See the scale on a person
Use proportion and movement—not a label alone—to choose earring size.
Visual scale can help you notice what feels delicate, balanced, or expressive. Bring that preference into a design direction with Leyloon.
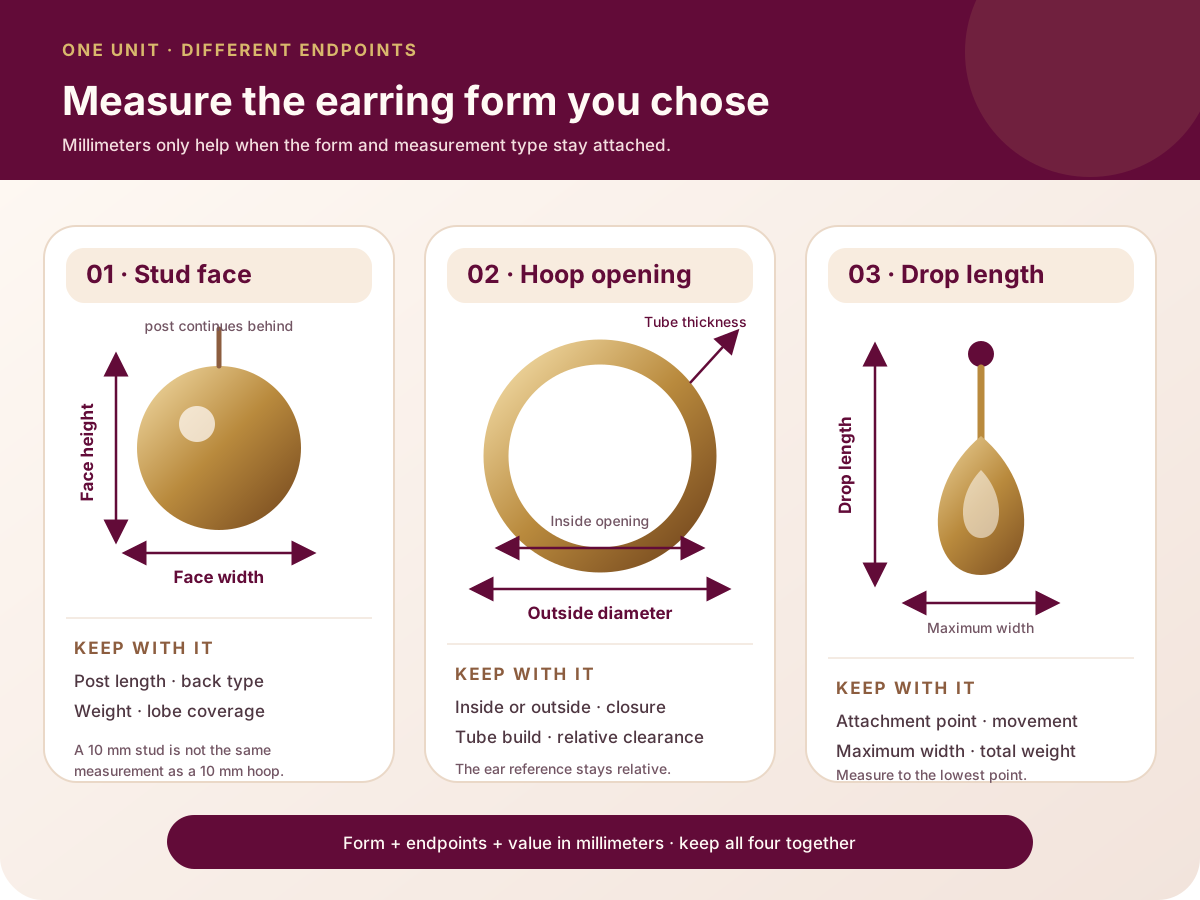
Form-specific size guide
Measure the part that belongs to the earring form you chose.
A 10 mm stud face, 10 mm hoop diameter, and 10 mm drop describe three different things. This tool changes the measurement definition with the form.Before this becomes a jewelry brief
Keep future design separate from a jewelry-change decision.
A design can be saved for later. It does not confirm that a piercing is ready for different jewelry.These details stay private in this browser and do not appear in the public link. Every choice remains editable in Atelier.
Earring form, fit & handling
Measure the earring form you actually chose
Keeps stud face size, hoop diameter, and drop length in separate diagrams so unlike millimeter measurements are not treated as interchangeable.
Stud face, hoop diameter, and drop length are different measurements. Choose the form first so the visual chart explains the right dimension.
Use this page when
- You want visual millimeter examples for a known earring form.
- You are comparing visible scale before choosing closure and weight.
Pause and choose another path when
- You want one size scale to compare unlike stud, hoop, and drop dimensions.
- A healing piercing makes style changes inappropriate right now.
Where this choice often matters
- Choosing quiet everyday studs or hoops.
- Comparing a wedding or evening drop against a bolder statement direction.
Compare the details
Measure the form you actually chose
Use the labeled endpoints and unit beside each drawing; a millimeter value only helps when everyone knows which part it describes.
| Form | Primary dimension | Secondary dimension | Visual context |
|---|---|---|---|
| Stud | Face width/height | Post and back | Coverage on lobe |
| Hoop | Inside or outside diameter | Tube thickness | Clearance and scale |
| Drop | Post/hook to bottom | Maximum width | Movement beside face |
| Climber | Coverage length | Support points | Ear anatomy review |
Questions worth asking
Open the concern that sounds like yours
Choose the question that sounds like yours. Each answer keeps the next step clear without closing decisions that still need review.
Is 10 mm small?
It depends on whether 10 mm means stud face, hoop diameter, or drop. Choose the form and measurement first.
Can I compare the picture to my ear?
Use it as a visual direction only; exact anatomy and piercing position differ.
Does size tell me comfort?
No. Add weight, post/back, construction, and wear routine.
Ready when you are
Carry this direction into your design
Leyloon can keep these choices together while you continue. Every detail stays editable. Your choices stay editable as you continue.
- Selected formNeeded before the direction is complete
- Measurement type, value, and unitA useful next question
- Quiet, everyday, expressive, or exactKeep it open if you are still deciding
- Back or closureKeep it open if you are still deciding
- Weight, movement, and relative-preview noteKeep it open if you are still deciding
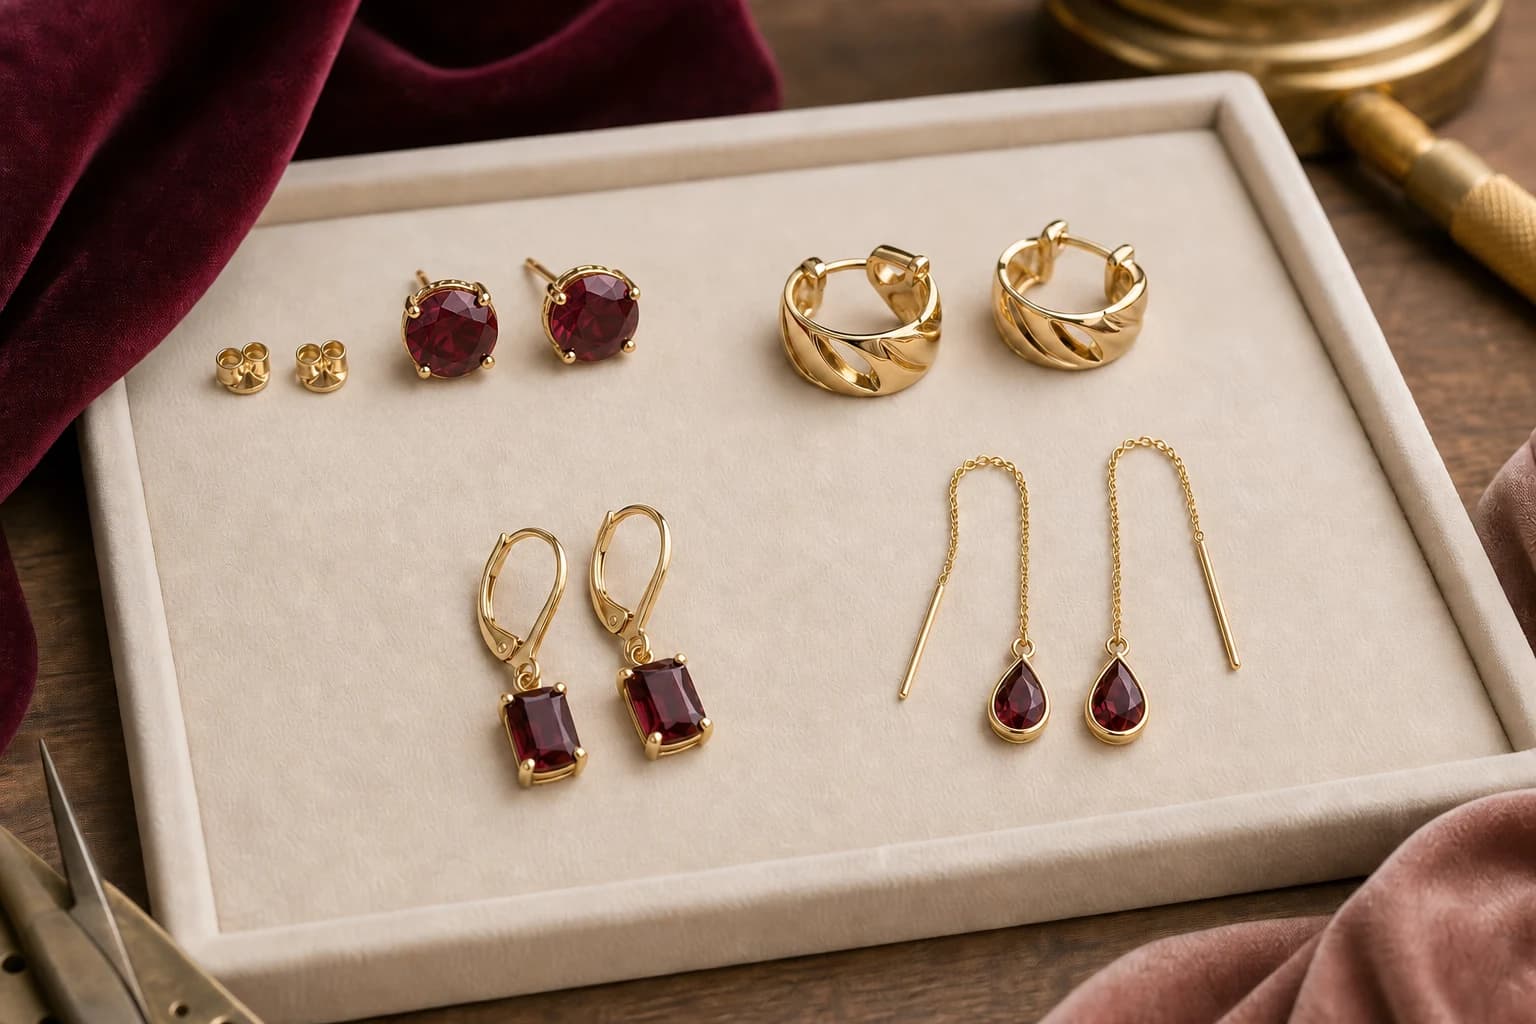
A visual map of this brief
See what stays known—and what remains open
This guide begins with “Use visual scale to choose the feeling of an earring.” The next choices stay grouped, editable, and connected to that same Atelier brief.
- Before choosing earringsKeep the care question separate from the future design. This is private context, not a diagnosis or a promise that a piercing is ready for a jewelry change.
- Earring formChoose the complete silhouette family before scale and closure.
- Which measurement gives this form meaning?Use the endpoints that belong to the earring form rather than comparing unlike millimeter numbers.
- Visible size or dropChoose one scale family; exact dimensions and weight remain reviewable.
Published customer proof
Real experiences, kept separate from promises
Only approved purchase-linked reviews appear here. An illustrative scene is never presented as a customer, and one person’s experience is never treated as a promise for another piece.See what Leyloon customers have shared
Read recent shop reviews on Etsy, then come back when you are ready to shape your own wearable jewelry direction.
These reviews reflect individual Leyloon service experiences. Your wearable jewelry direction and quote request are reviewed on their own.