Keep the color direction
Describe the tone and feeling you want the finished ring to carry.
Laboratory-grown diamond · Yellow radiant direction
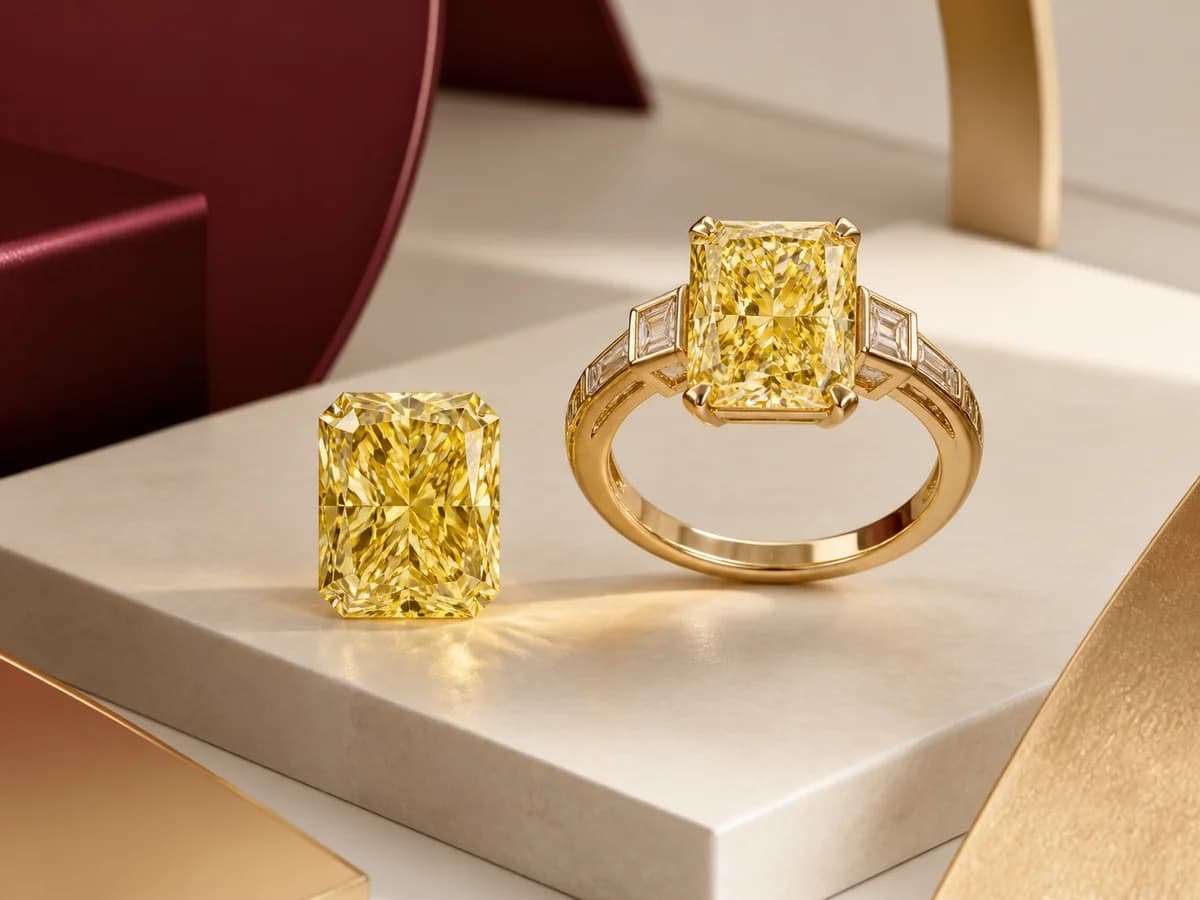
Keep yellow radiant laboratory-grown diamond direction as your starting direction. You can shape the color, outline, setting, and feeling of the ring before choosing a stone.
Explore the choices that shape this direction, then begin a design brief or return to the stone collection when you are ready.
A calm place to begin
Available matches are not showing for this direction right now. You can begin a design brief or return to the stone collection a little later.
Browse the stone collectionDescribe the tone and feeling you want the finished ring to carry.
Decide how the outline, setting, profile, and band should feel together.
Leyloon reviews the details with you before a written quote presents the next choices.
When you are ready
Laboratory-grown diamond · Yellow radiant direction
Laboratory-grown diamond direction · not a mined diamond
A yellow radiant laboratory-grown diamond direction can feel like a compact field of golden light or a longer, architectural center. It is an educational direction, not a mined diamond, an exact product, or proof of present inventory.
Compare color concentration, outline, and the rhythm of bright and dark facets before deciding how much metal should frame the clipped corners. Use the exact report for all laboratory findings, including origin description and treatment information within its scope.
Three decisions worth slowing down for
These questions help you describe the direction. They do not stand in for an exact stone record, grading report, or setting review.
Color concentration
Radiant facets can create a lively mosaic. Decide whether you prefer even yellow, stronger areas of color, or a more contrasted pattern that changes with movement.
Outline proportion
A compact radiant can feel bold and centered. A longer outline leads the eye along the finger and changes the space available for side stones or a halo.
Corner architecture
Clipped corners invite a clear setting rhythm. Prongs can keep more of the outline open; a bezel or framed halo can make the geometry more graphic.
A calm side-by-side check
Use the table as a question list. Leave any unknown detail open until one exact stone and its evidence can answer it.
| Layer | Compact radiant | Elongated radiant | Exact-stone check |
|---|---|---|---|
| Yellow impression | Concentrated in a shorter geometric field. | Spread through a longer mosaic of facets. | Hue, tone, saturation, distribution, and treatment wording. |
| Finger presence | Broader, centered, and visually compact. | Longer line and more directional coverage. | Measured length, width, depth, and ring size context. |
| Side design | Balanced halo or side details on four sides. | Tapered shoulders or lengthwise accents. | Band transition, spacing, and setting feasibility. |
| Corner frame | A regular four-corner rhythm. | Longer side rails with clipped ends. | Prong or bezel support and daily-wear review. |
A radiant outline can influence color appearance, but no diagram or ratio establishes the exact stone's beauty, treatment status, or ring feasibility.
Questions to answer before choosing
Lighting, background, exposure, facet reflections, processing, and the exact stone can all change the picture. Compare consistent evidence and read the report separately.
Outline alone cannot answer that. The exact stone, corner geometry, inclusions, proportions, setting support, profile, and wear need review.
A halo changes the visual frame and contrast, not the laboratory grade. Test the design direction around the exact stone before deciding.
Report types and fields differ. Read the exact document and the issuing laboratory's scope instead of assuming a field is present or absent.
Independent technical sources
These sources support the general education on this page. The exact stone and its issuing laboratory record remain the evidence for an individual choice.