Keep the color direction
Describe the tone and feeling you want the finished ring to carry.
Laboratory-grown diamond · Green pear direction
Keep green pear laboratory-grown diamond direction as your starting direction. You can shape the color, outline, setting, and feeling of the ring before choosing a stone.
Explore the choices that shape this direction, then begin a design brief or return to the stone collection when you are ready.
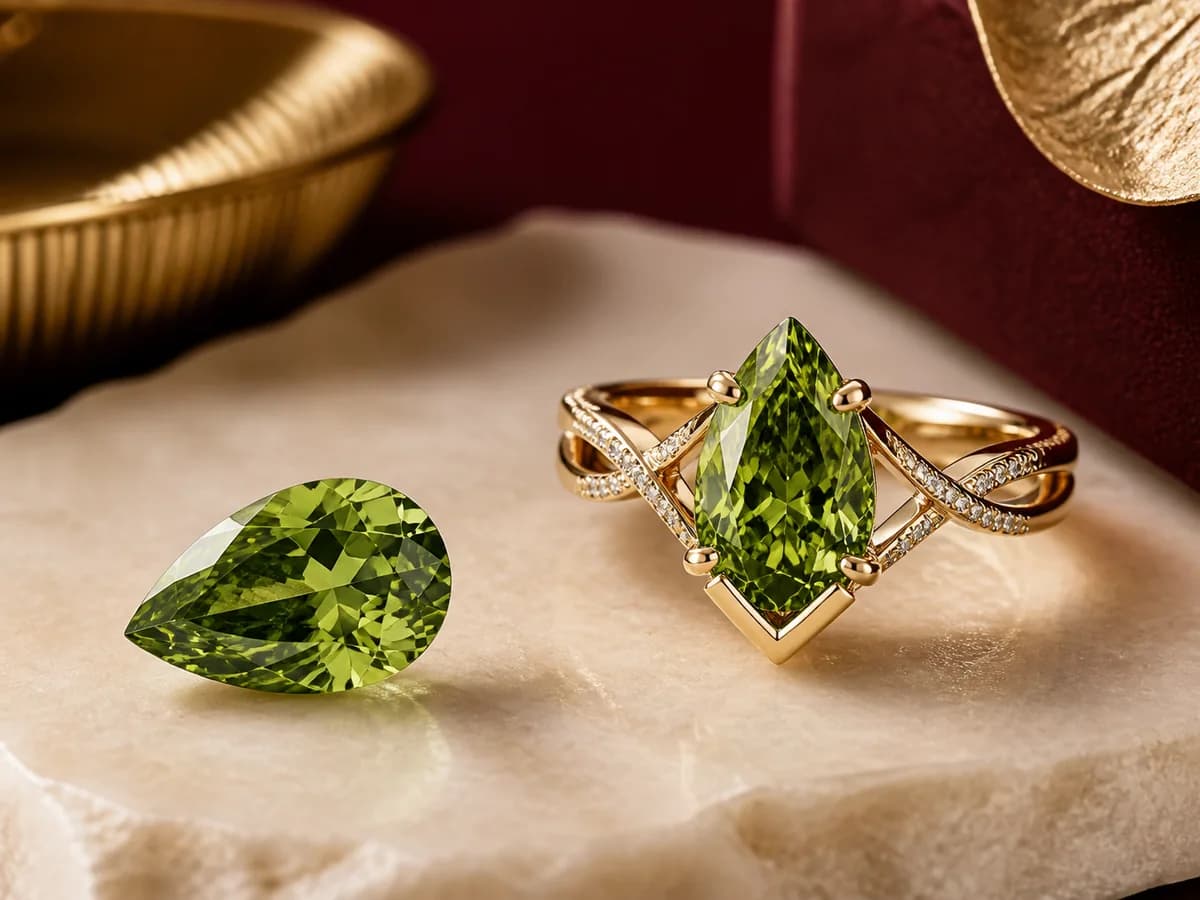
A calm place to begin
Available matches are not showing for this direction right now. You can begin a design brief or return to the stone collection a little later.
Browse the stone collectionDescribe the tone and feeling you want the finished ring to carry.
Decide how the outline, setting, profile, and band should feel together.
Leyloon reviews the details with you before a written quote presents the next choices.
When you are ready
Laboratory-grown diamond · Green pear direction
Laboratory-grown diamond direction · not a mined diamond
A green pear laboratory-grown diamond direction combines a rounded end with one defined point. It is not a mined diamond or an exact stone; it helps you decide how color, asymmetry, and orientation should feel in the ring.
Look for balanced shoulders, a point that sits on the center line, and green that does not disappear into one end. Confirm the exact laboratory-grown description, color findings, treatment information, measurements, and comments only from the exact report and stone record.
Three decisions worth slowing down for
These questions help you describe the direction. They do not stand in for an exact stone record, grading report, or setting review.
Color flow
A pear can carry color differently through its rounded end, center, and tip. Compare the full path so the point does not feel visually detached from the rest of the stone.
Pear symmetry
The two sides should create an intentional outline around one centered point. Full shoulders feel softer; narrower shoulders create a sharper drop.
Orientation and protection
Point-up, point-down, east-west, and angled orientations each change the ring's gesture. A protective setting detail should support that direction rather than feel added afterward.
A calm side-by-side check
Use the table as a question list. Leave any unknown detail open until one exact stone and its evidence can answer it.
| Pear detail | Softer direction | Sharper direction | Exact evidence |
|---|---|---|---|
| Shoulders | Fuller rounded shoulders and a gentle taper. | Narrower shoulders and a longer drop. | Face-up outline and exact dimensions. |
| Green flow | A gradual shift from belly to point. | A more concentrated or contrasted point. | Consistent media and report color wording. |
| Center contrast | Subtle bow-tie that changes in motion. | Stronger graphic contrast across the belly. | Real video or multiple exact views. |
| Ring orientation | Traditional vertical or softly angled placement. | East-west or clearly directional composition. | Point protection, setting, profile, and fit. |
Pear outlines and bow-tie patterns vary. Personal preference matters, but the exact stone still needs balanced visual and structural review.
Questions to answer before choosing
There is no single correct direction. Choose the gesture you enjoy, then design the band, side details, and point protection around it.
Compare the two sides along the center line, the fullness of both shoulders, the wings, and whether the point aligns with the rounded end.
Many pears show some central contrast, but its width, darkness, persistence, and movement vary. Inspect the exact stone rather than accepting a blanket rule.
No. Use the exact grading report or assessment and its stated scope. A photograph cannot establish growth or post-growth treatment details.
Independent technical sources
These sources support the general education on this page. The exact stone and its issuing laboratory record remain the evidence for an individual choice.