Leyloon Atelier · Matching wedding band
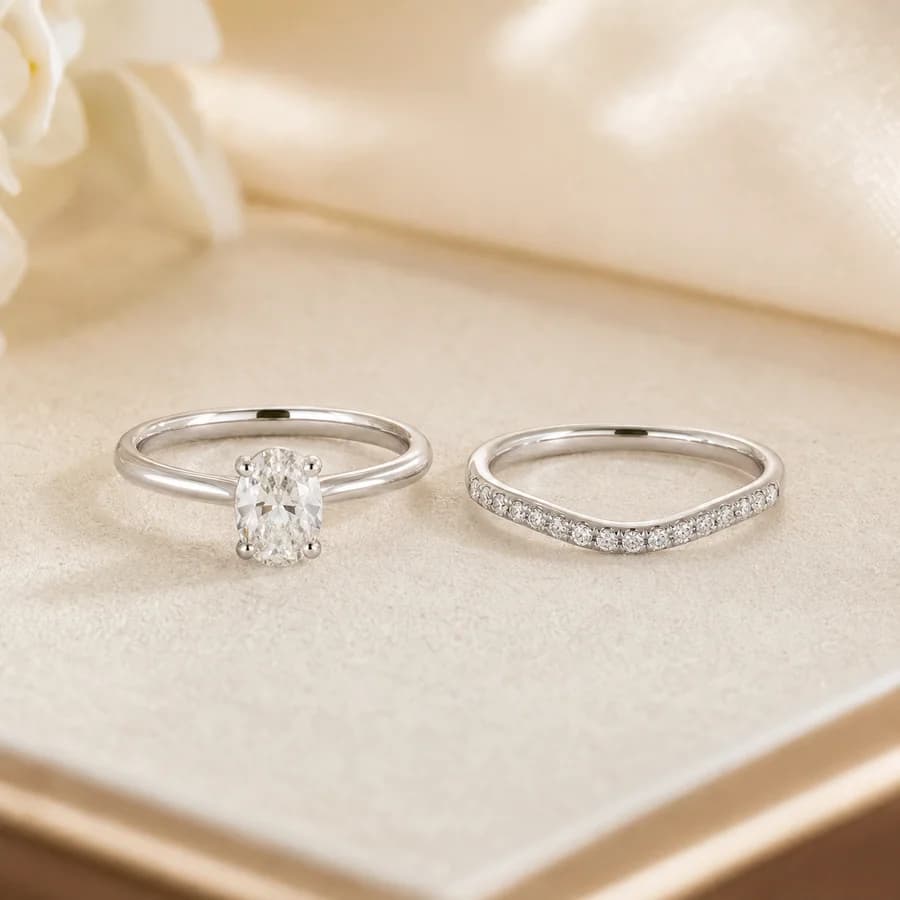
Design a wedding band to match your engagement ring
A useful match begins with the ring's real profile and the way you want the pair to sit—not with the photograph alone.
Share a permitted photo and the measurements you have. Leyloon helps compare straight, curved, open, and contour directions, then reviews the real ring profile and fit with you.
Begin with the details you have. You can review your private brief in Atelier before you send it.
What to bring
Bring the ring into the conversation
A photo gives visual context; measurements make the review more useful.- 01
Permitted ring photos
Share clear top, side, and profile views when available.
- 02
Useful measurements
Add ring size, shank width, setting height, and known clearance details.
- 03
How the pair should feel
Describe flush or spaced preference, comfort, movement, and balance.
Find the band that belongs with your ring.
Add a photo you are allowed to use and share a few preferences. Your brief will open in Atelier for you to review before you send it.
The photo begins the design. Your ring confirms the fit.
A permitted photo can show the relationship you want. Leyloon still reviews the physical ring and the details below before saying what can be made.
Your actual ring
Band width and thickness, setting height, bridge and gallery details, ring size, and the measurements a photo cannot provide.
How the bands meet
Contact, clearance, contour, alignment, comfort, wear, stone security, and whether a flush or softly curved direction is workable.
Materials and quote
Metal, finish, stones, construction, price, and timing are reviewed before Leyloon adds the price and available options to your quote request.
Begin with a fit feeling, then refine the facts.
Explore whether a straight plain or stone-set band can sit flush once setting clearance and comfort are confirmed.
Shape a gentle curve around the center setting while comparing width, metal, stones, and everyday wear.
Keep a considered space between rings when that balance better suits the setting, movement, or your style.
A photo is visual context, not a measurement or fit guarantee. Nothing is purchased or sent into production from this page. Exact copying may not be appropriate; Leyloon reviews originality, fit, measurements, materials, and stone security with you before adding the price and options to your quote request.
Save a private brief, review and revise it with Leyloon, then decide whether to approve the quote. Secure checkout and order updates remain a later, separate choice.
Build my matching-band brief